Consuming a RESTful Web Service in Android App - Part 1

In this tutorial, we will build a RESTful API using ASP.NET Core 1.0, and then use LoopJ's (James Smith) Android Asynchronous Http Client to make API calls from an Android application. This tutorial consists of two parts:
- Creating a RESTful API with ASP.NET - (This Post)
- Consuming the RESTful API in Android App - (Part 2)
You can find the source code for this part on Github/NotesAPI
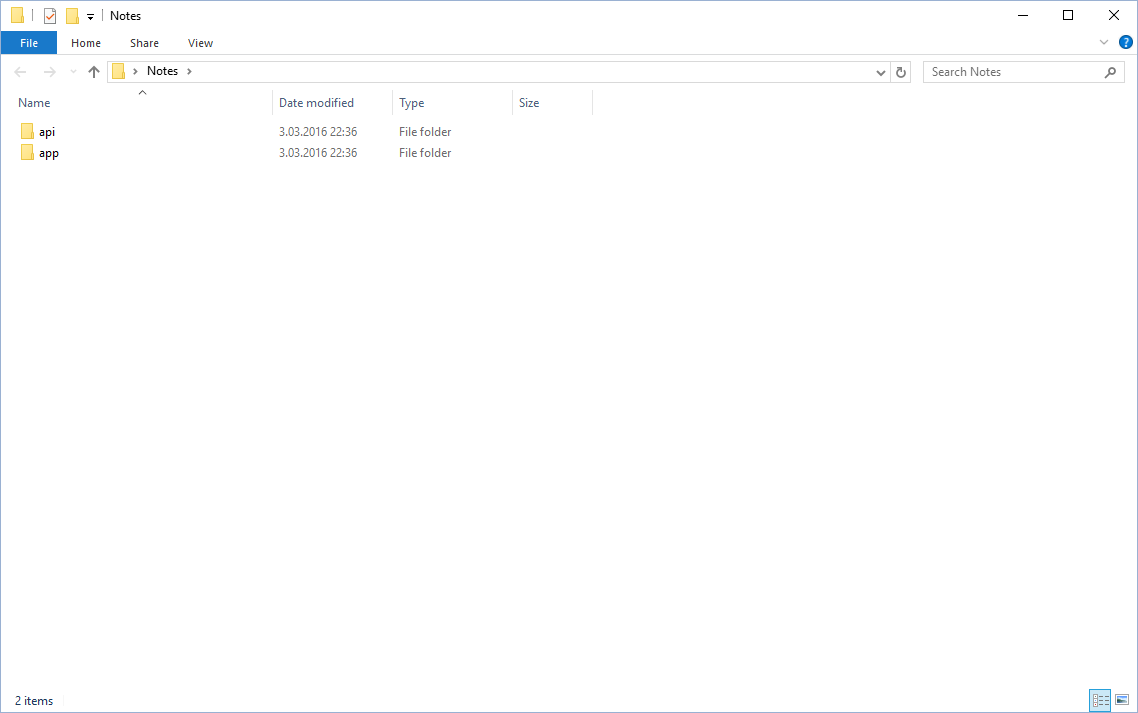
Step 1: Creating Directories
We are creating a simple note application. Before start creating our project, we will create a directory and name it "Notes". In this directory, we will create two additional folders. One named "api", another named "app".
Step 2: Creating an ASP.NET Web API Project
Open VS2015 and select New Project -> Visual C# -> Web. Select ASP.NET Web Application from the list. As the project location, we will use the api folder that we've created before. You can name the project "NotesAPI". Select the latest framework version available and tick Create directory for solution. Click OK.

Now we will select the template named Web API located under ASP.NET 5 Templates. Click OK.

Step 3: Adding a Model
Models are objects that representing the data. Our models will be serialized to JSON or XML, and then written to the HTTP response message. Clients that are capable of reading JSON or XML formats can deserialize and use this data. Clients can specify the format by sending Accept header with HTTP requests. In this tutorial, we are going to use "application/json".
Let's create our model that represents a simple note.
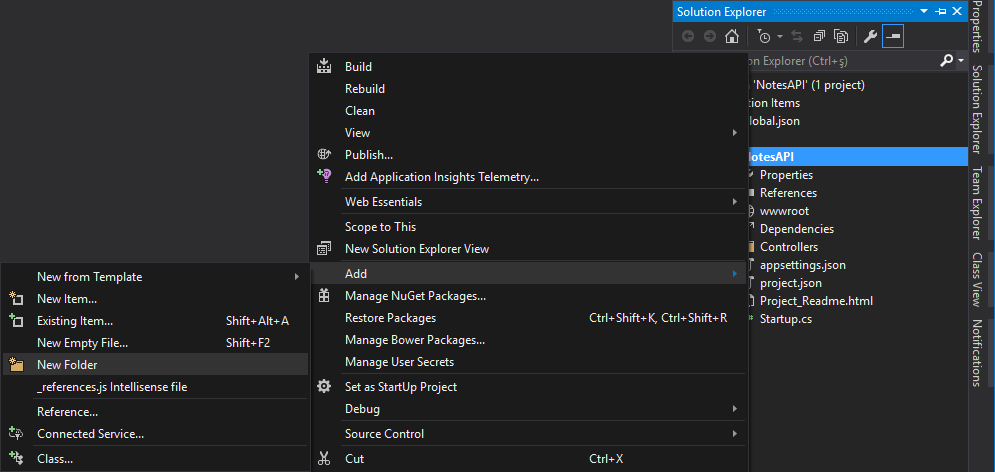
In Solution Explorer, right-click on your project name NotesAPI, and then select Add -> New Folder. Name the folder "Models".
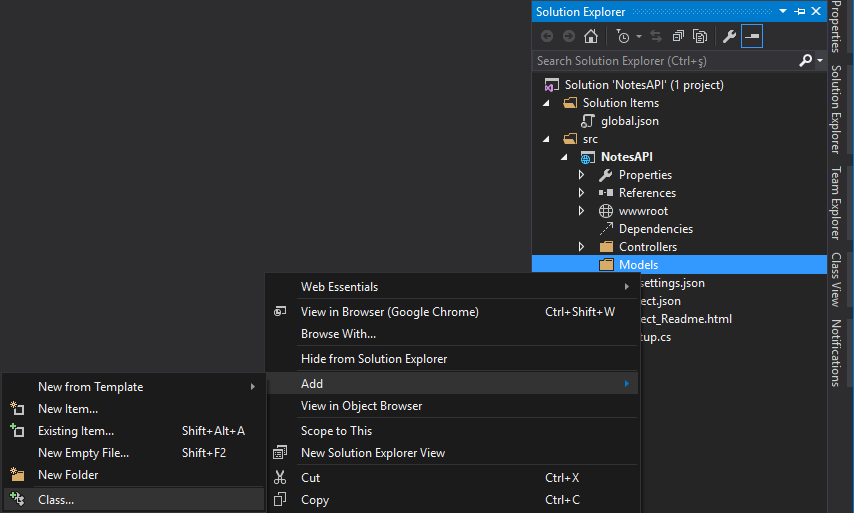
right-click on Models folder, and then select Add -> Class.
Name the class "Note" and replace the generated code with:
using System;
using System.ComponentModel.DataAnnotations;

namespace NotesAPI.Models
{
    public class Note
    {
        public Guid Id { get; set; }

        [Required]
        public string Title { get; set; }

        [Required]
        public string Content { get; set; }
    }
}
Step 4: Creating the Repository
In Solution Explorer, right-click on your project name NotesAPI, and then select Add -> New Folder. Name the folder "Repositories". We will create two files in this folder. The interface INoteRepository and the implementation for this interface NoteRepository.
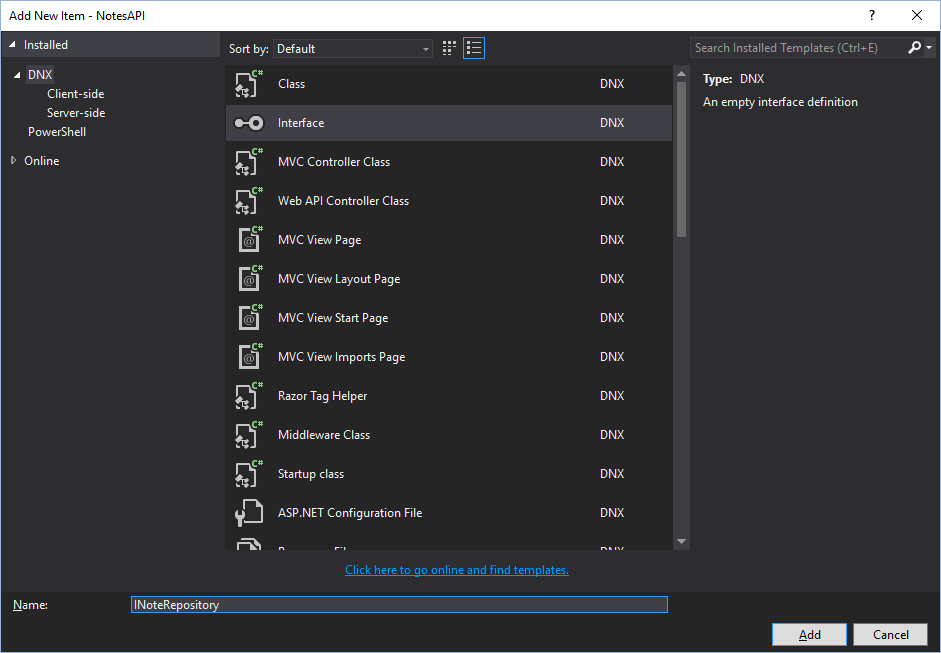
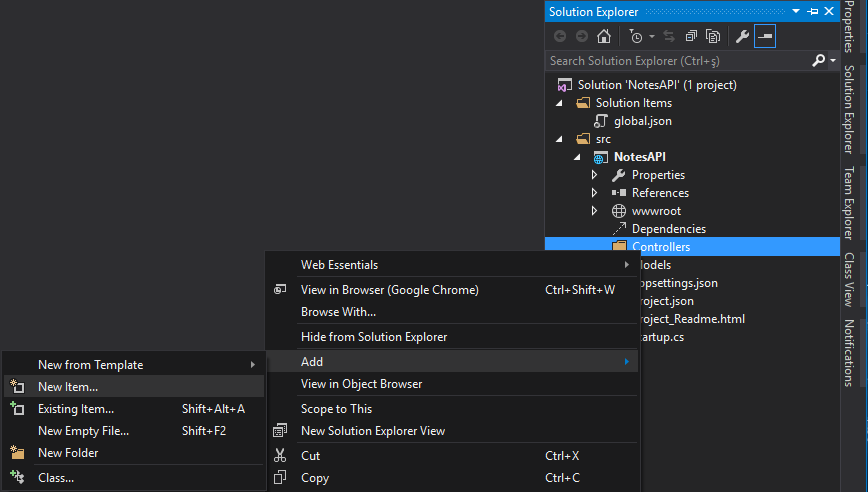
right-click on Repositories folder, and then select Add -> New Item.
In the next window, select Interface and name it "INoteRepository". Click Add.
Replace the generated code of INoteRepository with:
using System;
using System.Collections.Generic;
using NotesAPI.Models;

namespace NotesAPI.Repositories
{
    public interface INoteRepository
    {
        IEnumerable<Note> GetAll();
        Note GetNoteById(Guid id);
        void Add(Note item);
        void Update(Note item);
        Note Remove(Guid id);
    }
}
Now we will create an implementation for this Interface. For simplicity, notes will be stored in a ConcurrentDictionary. In a real app, we would be using an ORM, a database or some other external data source.
right-click on Repositories folder, and then select Add -> Class. Name the class "NoteRepository" and click Add.
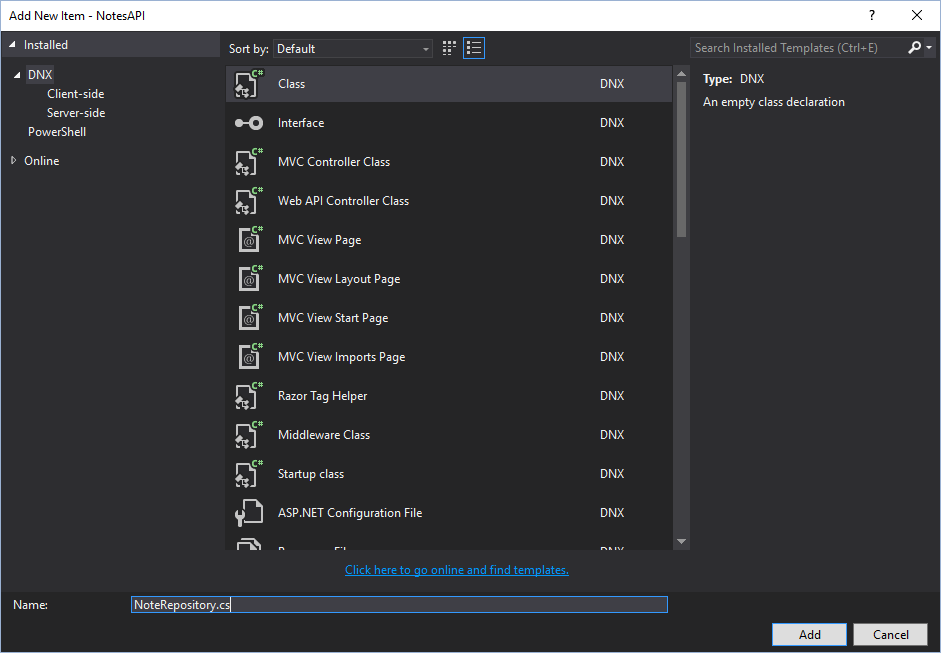
Replace the generated code of NoteRepository with:
using System;
using System.Collections.Concurrent;
using System.Collections.Generic;
using NotesAPI.Models;

namespace NotesAPI.Repositories
{
    public class NoteRepository : INoteRepository
    {
        private static readonly ConcurrentDictionary<string, Note> Notes = new ConcurrentDictionary<string, Note>();

        public NoteRepository()
        {
            Add(new Note { Title = "My First Note", Content = "A worthy content" });
            Add(new Note { Title = "Second Note", Content = "A worthy content" });
            Add(new Note { Title = "Third Note", Content = "A worthy content" });
            Add(new Note { Title = "Fourth Note", Content = "A worthy content" });
            Add(new Note { Title = "Fifth Note", Content = "A worthy content" });
            Add(new Note { Title = "Sixth Note", Content = "A worthy content" });
            Add(new Note { Title = "Seventh Note", Content = "A worthy content" });
        }

        public IEnumerable<Note> GetAll()
        {
            return Notes.Values;
        }

        public Note GetNoteById(Guid id)
        {
            Note item;
            Notes.TryGetValue(id.ToString(), out item);
            return item;
        }

        public void Add(Note item)
        {
            item.Id = Guid.NewGuid();
            Notes[item.Id.ToString()] = item;
        }

        public void Update(Note item)
        {
            Notes[item.Id.ToString()] = item;
        }

        public Note Remove(Guid id)
        {
            Note item;
            Notes.TryGetValue(id.ToString(), out item);
            Notes.TryRemove(id.ToString(), out item);
            return item;
        }
    }
}
In order to use our Repository, we need to register it in Startup.cs file. Open the Startup.cs file and replace the ConfigureServices method with:
public void ConfigureServices(IServiceCollection services)
{
    // Add framework services.
    services.AddMvc()
        .AddJsonOptions(x => x.SerializerSettings.ContractResolver = new CamelCasePropertyNamesContractResolver())
        .AddXmlDataContractSerializerFormatters()
        .AddXmlSerializerFormatters();

    // Register our repositories.
    services.AddSingleton<INoteRepository, NoteRepository>();
}
Becase we've added extra formatters, we need to add this dependency to project.json file:
"Microsoft.AspNet.Mvc.Formatters.Xml": "6.0.0-rc1-final"
Step 5: Adding a Controller
Our controller will handle the HTTP requests and be responsible for listing, creating, updating and deleting notes. In Solution Explorer, right-click on Controllers folder and then select Add -> New Item.
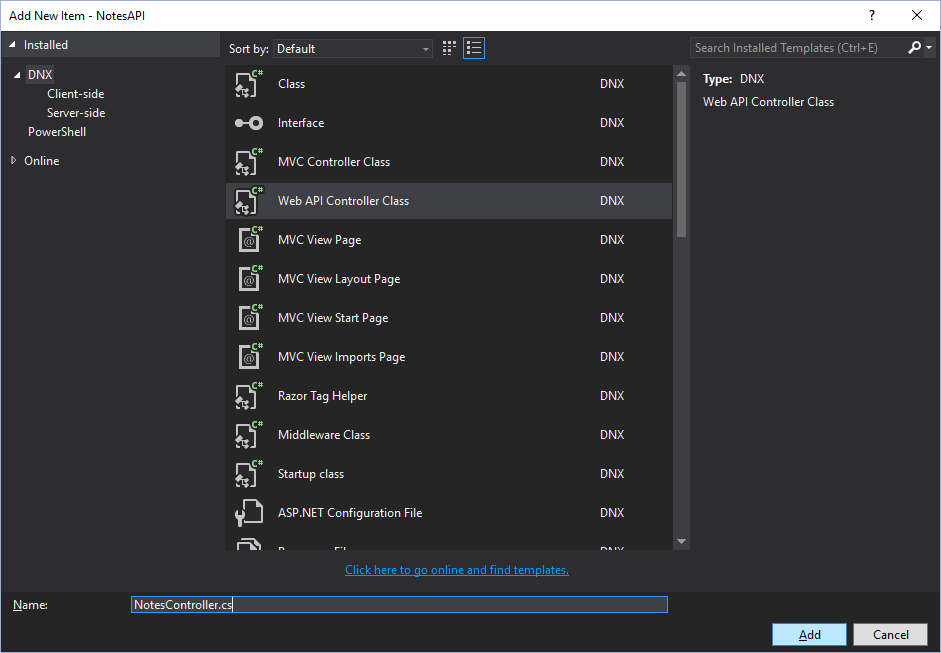
In the next window, select Web API Controller Class and name it "NotesController". Click Add.
Replace the generated code for NotesController with:
using System;
using System.Collections.Generic;
using Microsoft.AspNet.Mvc;
using NotesAPI.Models;
using NotesAPI.Repositories;

namespace NotesAPI.Controllers
{
    [Route("api/[controller]")]
    public class NotesController : Controller
    {
        [FromServices]
        public INoteRepository NoteRepository { get; set; }

        [HttpGet]
        public IEnumerable<Note> GetAll()
        {
            return NoteRepository.GetAll();
        }

        [HttpGet("{id}", Name = "GetNote")]
        public IActionResult GetById(Guid id)
        {
            var item = NoteRepository.GetNoteById(id);
            if (item == null)
            {
                return HttpNotFound();
            }
            return new ObjectResult(item);
        }

        [HttpPost]
        public IActionResult Create([FromBody]Note item)
        {
            if (item == null)
            {
                return HttpBadRequest();
            }

            NoteRepository.Add(item);
            return CreatedAtRoute("GetNote", new { controller = "Note", id = item.Id.ToString() }, item);
        }

        [HttpPut("{id}")]
        public IActionResult Update(Guid id, [FromBody]Note item)
        {
            if (item == null || item.Id != id)
            {
                return HttpBadRequest();
            }

            var note = NoteRepository.GetNoteById(id);
            if (note == null)
            {
                return HttpNotFound();
            }

            NoteRepository.Update(item);
            return new NoContentResult();
        }

        [HttpDelete("{id}")]
        public void Delete(Guid id)
        {
            NoteRepository.Remove(id);
        }
    }
}
Final Step: Configuring the Server
In this final step, we will configure the Kestrel web server. In order to call our API from another device or emulator located in the same network, we need to add our LAN IP (cmd -> ipconfig) to server urls.
Open up projects.json file and find "commands" -> "web" node. Update the value:
"Microsoft.AspNet.Server.Kestrel"to:
"Microsoft.AspNet.Server.Kestrel --server.urls http://localhost:5000;http://192.168.1.82:5000"Be sure to update second url with your LAN IP.
Save the file and select web from the toolbar.

Press CTRL + F5 to run the server.
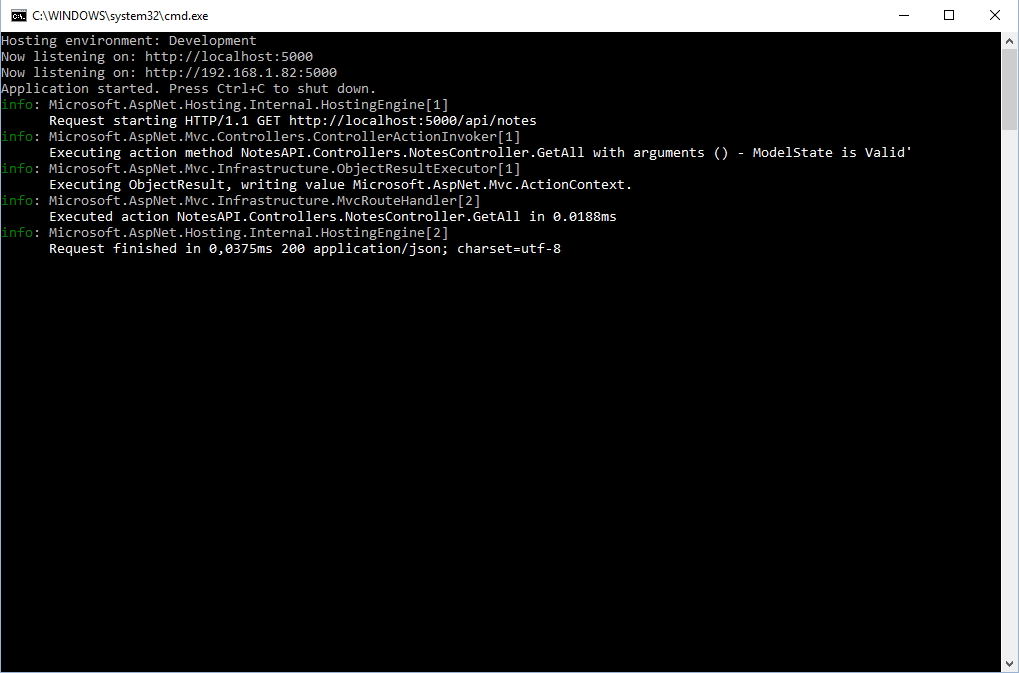
Now we are ready to test our API. Open up your favorite browser and navigate to http://localhost:5000/api/notes. You should see something like this.
[{"id":"349b21f3-2674-46ed-940e-3d9671f7d9ea","title":"Fourth Note","content":"A worthy content"},
{"id":"9464186f-8376-48f8-8f11-a8318d474a57","title":"Third Note","content":"A worthy content"},
{"id":"e80363f7-6d28-4168-abef-f24e7a049f59","title":"Sixth Note","content":"A worthy content"},
{"id":"d619c754-7301-4ec7-8bc1-7a73ef2408f0","title":"Second Note","content":"A worthy content"},
{"id":"c8898e59-d3f6-4585-9378-dcebbae558df","title":"Seventh Note","content":"A worthy content"},
{"id":"f375c9e3-ae02-4b2c-993c-58a874b0da38","title":"First Note","content":"A worthy content"},
{"id":"2049e938-a01a-4521-9b02-b8af5ca416c4","title":"Fifth Note","content":"A worthy content"}]
In the next part, we will consume this API in an Android application.